
Cable Welding Jig
Overview
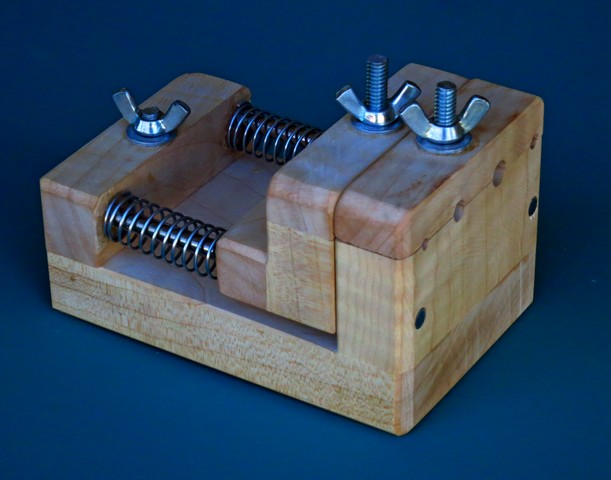
Cable Welding Jig
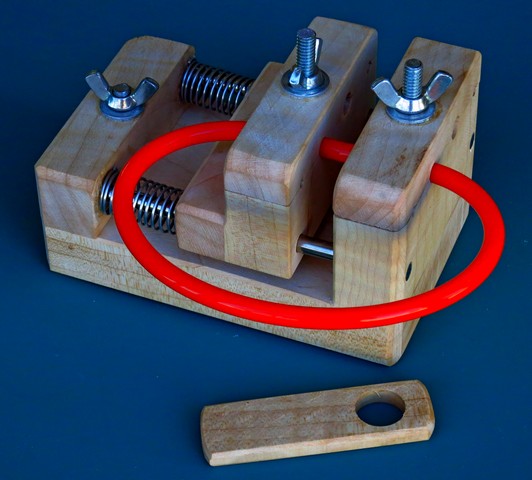
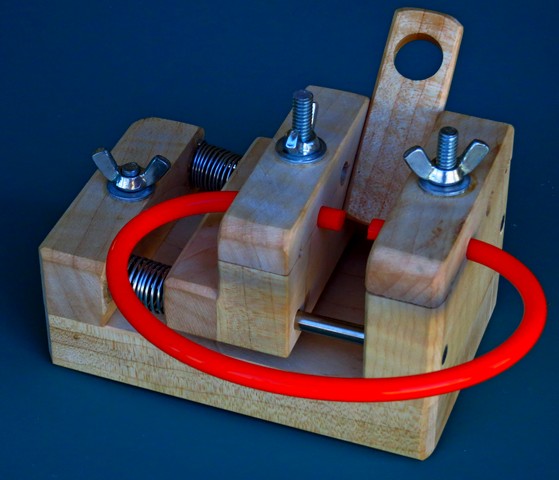
A forum user (who goes by "Sherweld") posted directions on the Ornamental Turners International forum for a jig that makes it much easier to weld the cable into a continuous loop. The picture to the right shows the ends being held in this jig, and are shown just before they were melted and joined. Melting the ends to join them is done using a soldering iron.
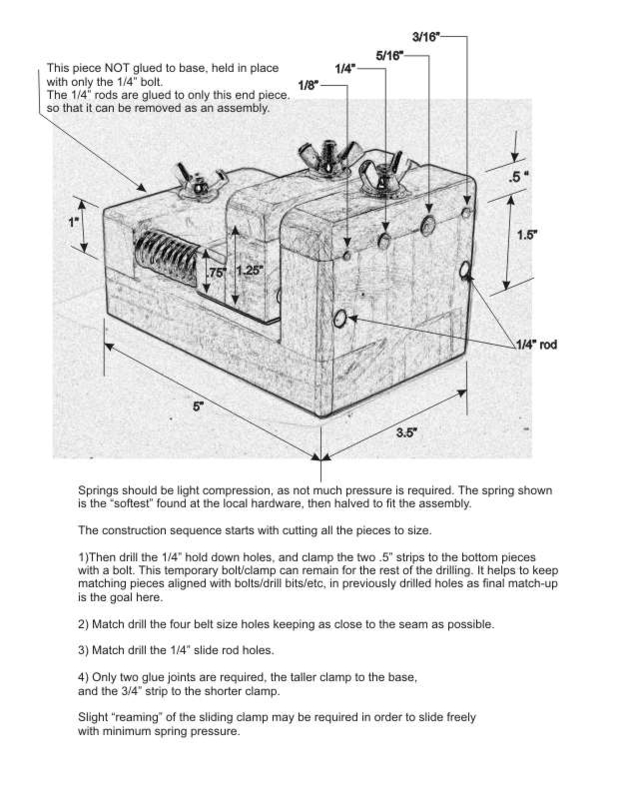
I made one of these jigs from a scrap piece of walnut and parts I bought at the local hardware store. The metal parts cost less than $10.
I've used this a number of times, and it has never failed me.
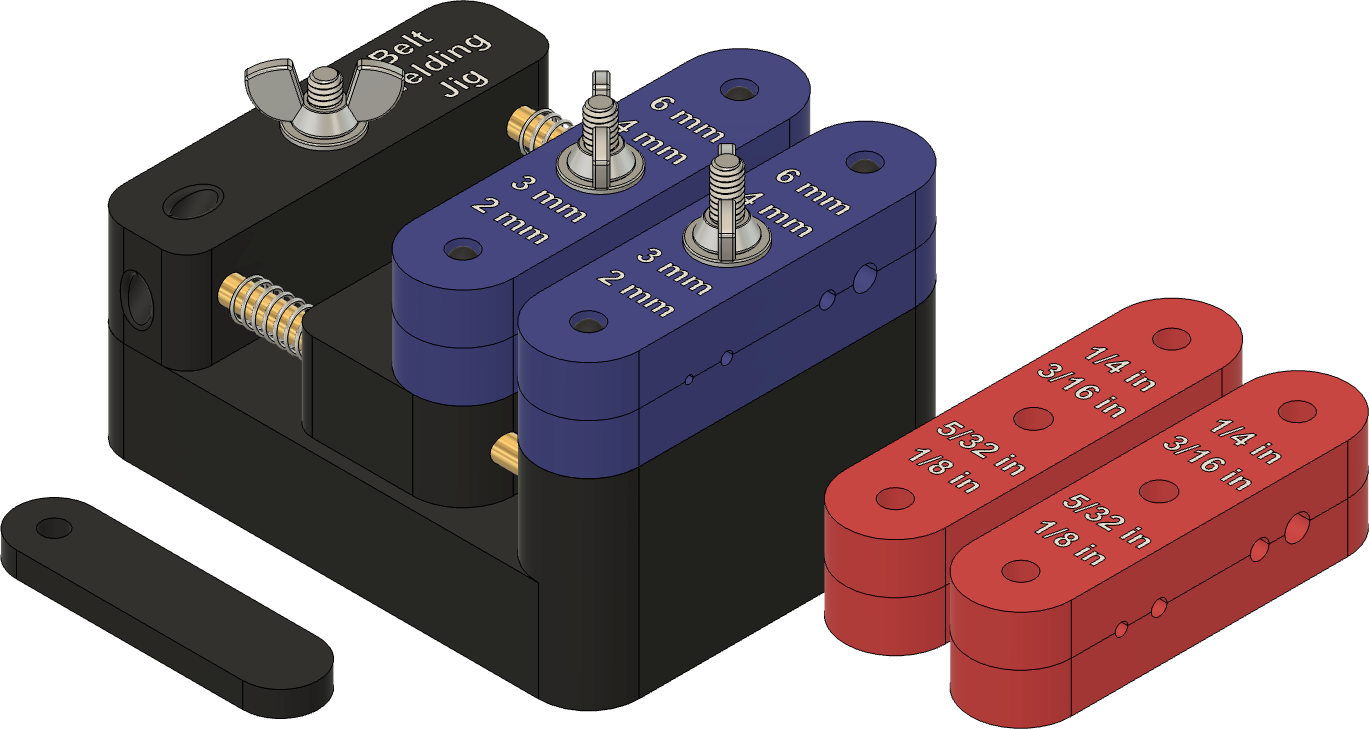
A 3D-printed option is also shown below.
Examples of this device in use
| 
|
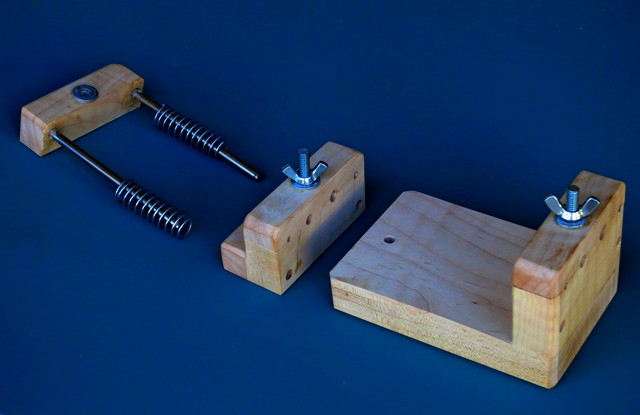
Notes on making one
Original, Made Using Wood
 |
 |
3D-printed Version
With this version, you need to swap out the cable holders, based on the cable you are wanting to splice. The ones shown below in the picture in
- blue for cables with metric diameters, and
- red for cable with imperial diameters.
|
These are the 3D-printed parts shown in the picture above
|
You will also need these parts:
|
More Information
Published Articles
- A Welding Jig for Rose Engine Belting by Fred Holder. Rose Engine News, Volume 7, No. 2, Fall-Winter, 2016-7, pg, 21.
- Welding Round Belting by John Tarpley. Rose Engine News, Volume 7, No. 2, Fall-Winter, 2016-7, pg, 21.
|
Disclaimer: eMail comments to me at OTBookOfKnowledge @ Gmail.com. The process of woodturning involves the use of tools, machinery and materials which could cause injury or be a health hazard unless proper precautions are taken, including the wearing of appropriate protective equipment. |